
Shredded Beef Tacos
If you’re anything like me, you honestly believe that tacos should never be restricted to one day of the week. Oh, if only every day could be Tuesday….

If you’re anything like me, you honestly believe that tacos should never be restricted to one day of the week. Oh, if only every day could be Tuesday….
And it can!

A few weeks ago, I posted my recipe for slow cooker beef short rib gnocchi, and I got to thinking, this recipe is so easy, what else can I make with this.
When the weather gets hot and humid, as it has been for the past few days here in Toronto, there are two things I do not want to be doing:
1) Slaving away in a hot kitchen; and
2) Eating a hot, overly filling meal.

This shredded beef taco recipe is not only light, but the slow cooker does most of the work for you – you don’t even have to be at home, much less in the kitchen!
This is perfect to serve you guests when entertaining for dinner in your backyard! It’s a great alternative to barbequing when its too hot be in front of the grill. Simply set up a station and let you guests fill their tacos to their liking! (even those fussy eaters will be pleased!

Shredded Beef Short Rib Tacos
Serves: 2
Prep time:
Cook time:
- 5 lbs bone in beef short ribs
- ½ onion
- 3 garlic cloves
- 1 cup tomato sauce
- 1 can beef gravy
- 6 dashes worchester sauce
- ½ teaspoon thyme
- Salt and black pepper to taste
- 6 taco shell of you choice (I used soft corn shells)
- 2 plum tomatoes, diced
- 2-3 jalapeños, sliced
- 6 leaves green leaf lettuce, shredded
- Instructions:
- Add all the ingredients (excluding the gnocchi) to a slow cooker and let cook for 8 hours.
- Once meat is finished cooking, shred the short ribs using 2 forks
- place taco shells in the oven for 2 minutes or until lightly crispy around the edges (or to your own liking)
- on your plate, fill taco shells with shredded beef short ribs, tomatoes, red onion, lettuce and jalapeños


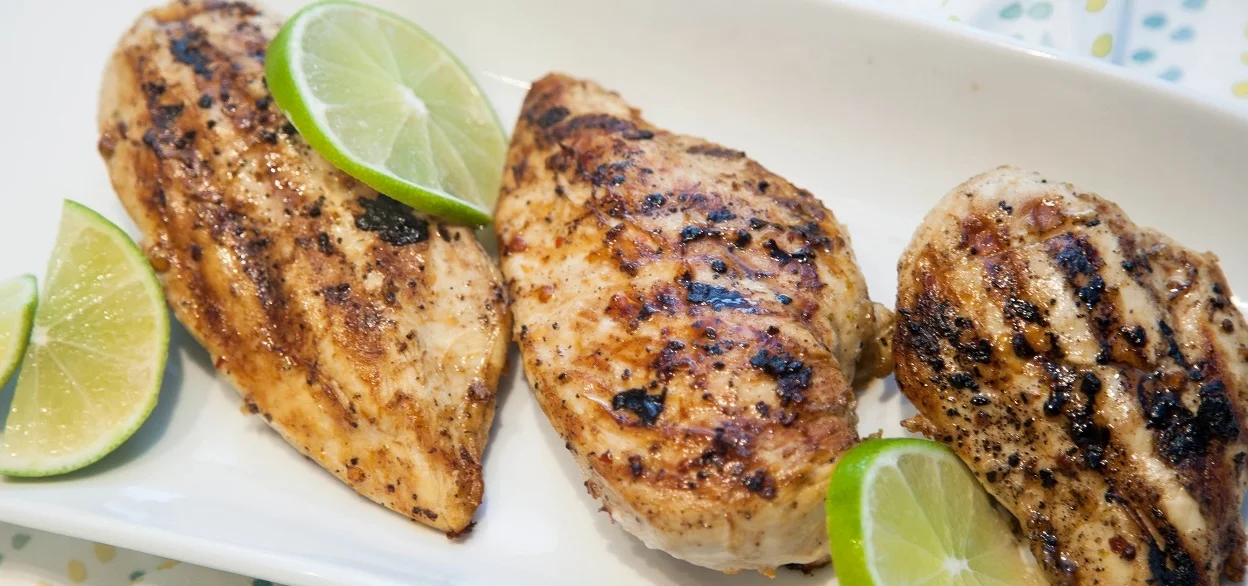
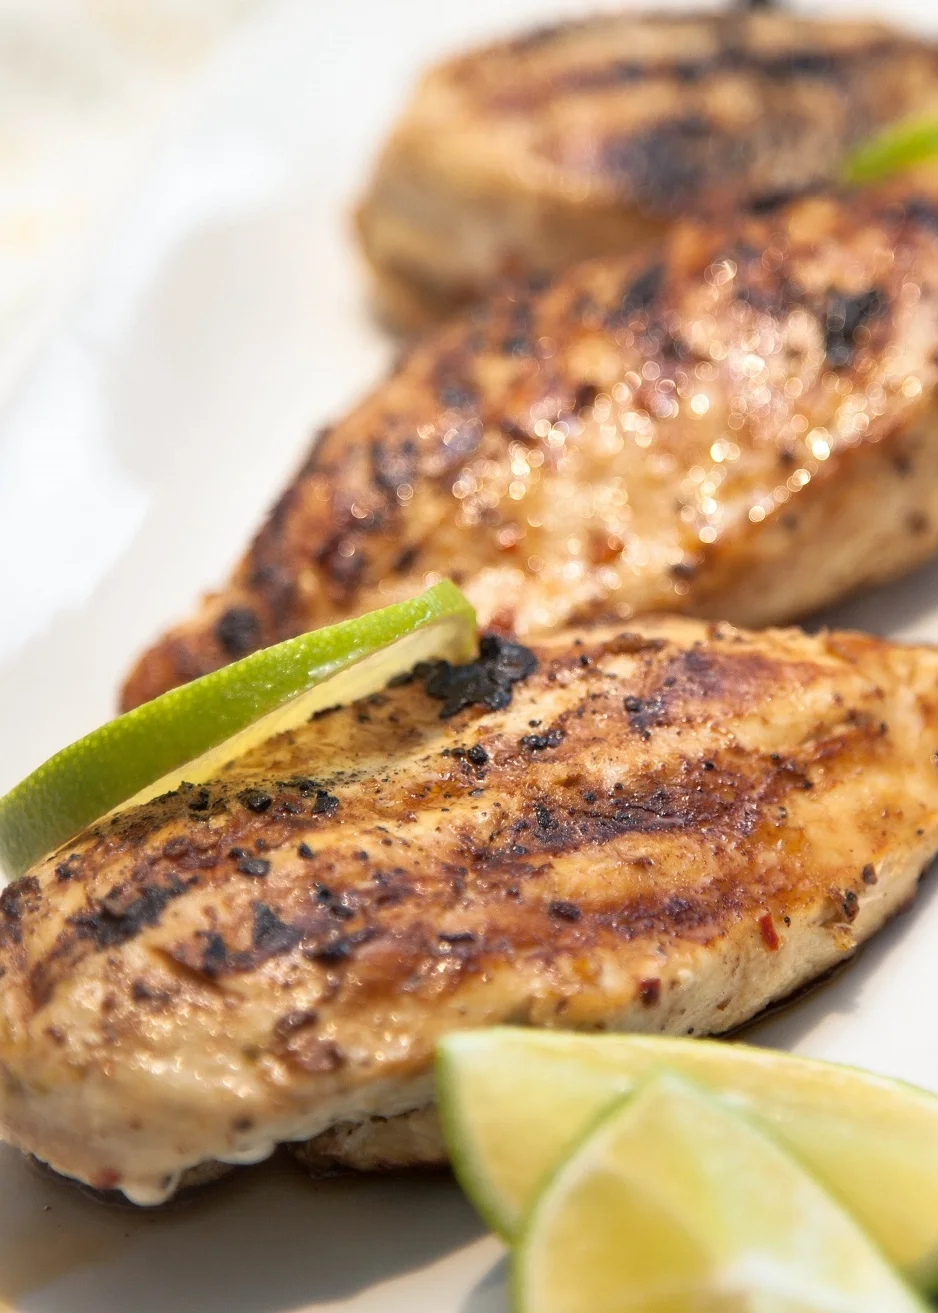
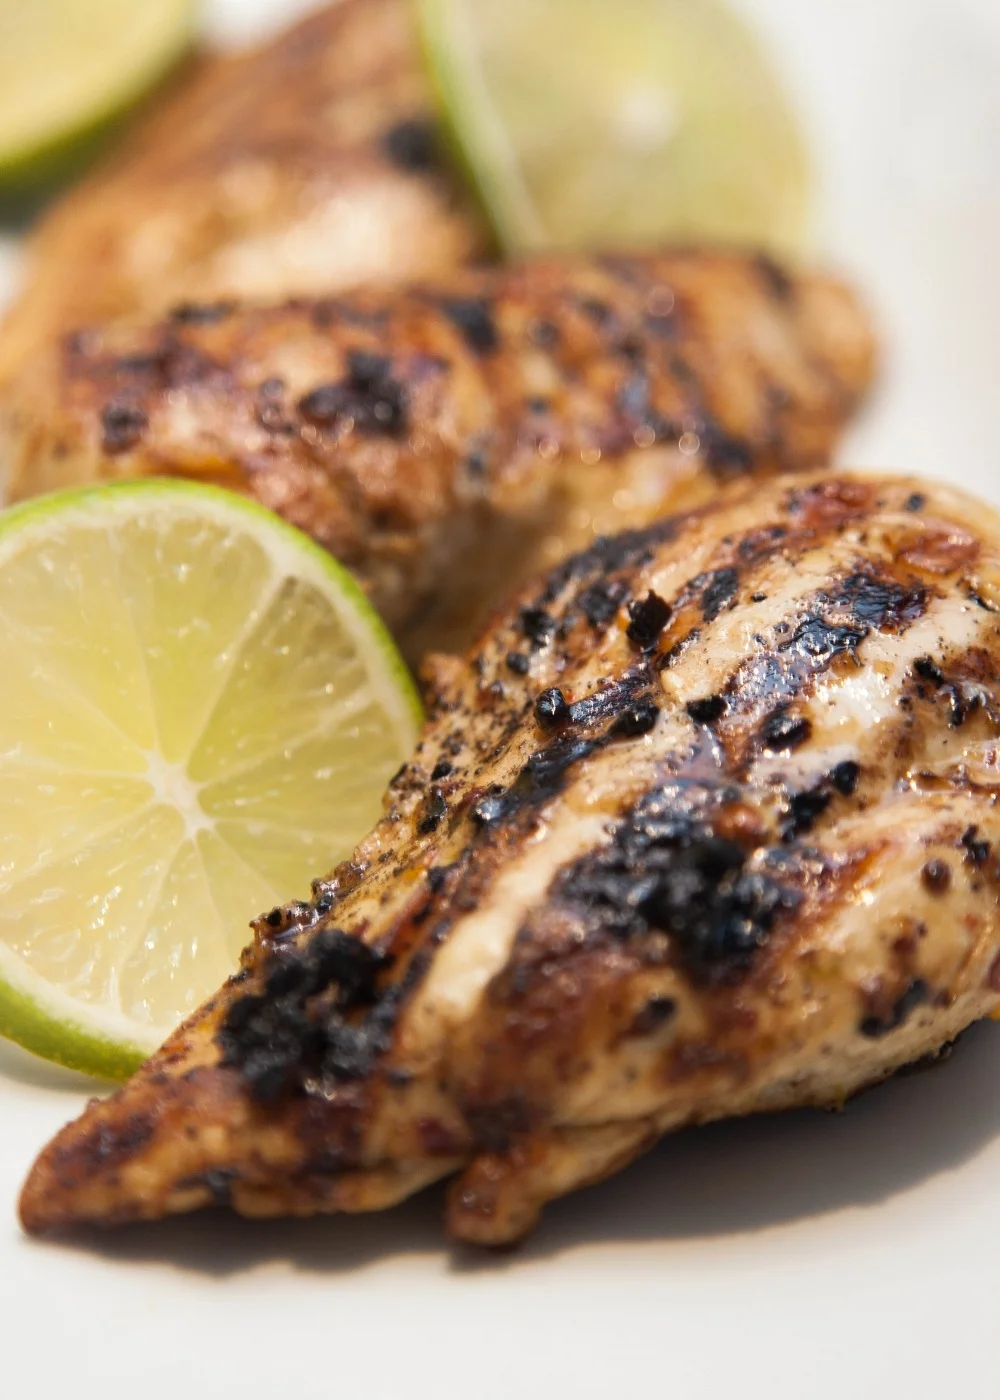
Drunken Tequila Lime Chicken
As summer has officially begun, it marks the start of grilling season.
I am always looking for different recipes to try and this one definitely beats the typical barbecue sauce chicken that most of us gravitate towards, only because it’s easy and doesn’t require much thinking.
As summer has officially begun, it marks the start of grilling season.
I am always looking for different recipes to try and this one definitely beats the typical barbecue sauce chicken that most of us gravitate towards, only because it’s easy and doesn’t require much thinking.
Since most of my summer entertaining includes drinks of some sort, I thought why not add that to the meal.
I decided to go with tequila as I seem to have a fascination with margaritas lately.
Tequila, paired with limes, add a great, bright flavor to the chicken which screams summer. I also used some peppers for a little bit of heat, because that’s how the Mister likes it, but you can forgo that if you’re not a fan of pepper.
I decided to use chicken breasts for this recipe only because I could use the left overs for salads and take them to work. (So much easier that trying to eat a drumstick at my desk!)
This recipe can be done either on the bbq or in the oven. Of course the day I decided to make this it rained the entire day. I decided to go ahead and make it in my cast iron grill and finished cooking it in the oven.

Drunken Tequila Lime Chicken
Makes: 4 Chicken Breasts
Prep time:
Cook time:
- 4 boneless chicken breasts
- 2 shots tequila
- juice of 1 lime
- rind (grated) of 1 lime
- 1/2 teaspoon chilli flakes
- salt and pepper to taste
- combine all the ingredients and let the chicken marinate overnight
- lightly grease a cast iron grill and turn heat on to medium high
- pre-heat oven to 350 degrees
- sear each side for 4-5 minutes
- put the cast iron skillet with the chicken in the oven and let cook for 20-25 minutes

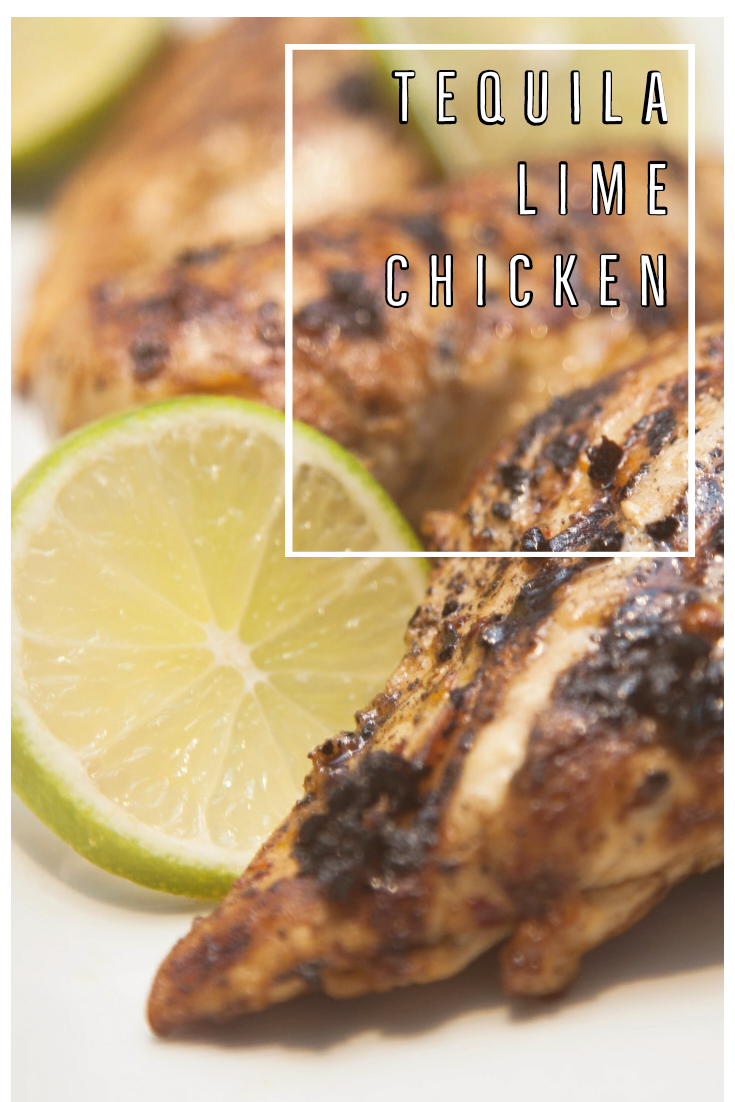


Photo Gallery Wall
I have tons of photos from my travels (the only souvenirs I need and collect!). But more importantly, I never made a photo album for our wedding photos. Instead, I framed the really good ones (we were lucky to have a lot of great shots) and created a gallery wall.

As you may know, the Mister and I recently moved into a new condo.
I absolutely love the new space, but since the layout is completely different from our previous place, this means redecorating from scratch.
The new place is more of an open concept compared to where we were before and I've lost a lot of wall space. While to most people, this may not seem like a big issue, in fact, it may seem like a bonus! But keep in mind that I'm a photographer first. I have tons of photos from my travels (the only souvenirs I need and collect!). But more importantly, I never made a photo album for our wedding photos. Instead, I framed the really good ones (we were lucky to have a lot of great shots) and created a gallery wall.

In my old condo, I made a 3x5 gallery wall (which you can see here) but I just don't have a similar wall space anymore. Instead, I opted to create a 2x7 gallery wall.
I got these 11x11 black gallery frames from Chapters-Indigo. I fell in love with the simplicity of these frames and love that they practically match any decor.

The first thing I did was lay everything out on the floor to decide which photos will go where. I mixed in a few photos from some of the places the Mister and I have traveled to - just to mix it up a bit.


After this came the hard part - how high do I hang them??
I have a really odd drop in the ceiling, bringing the ceiling height to 7 feet on the only wall that I could display my photos. I have read that the centre of your "wall art" should be at 5'5". This may work well with large pieces but I don't think that translated well with a photo gallery wall. Instead, i made the bottom row centred to 5'5". (When I did the 3 rows at my old place, I made sure that the centre row was centred to the height of 5'5".) Because I don't like nails or holes in my walls, I opted to use the Command Picture Hanging Strips to hang my photos.
I must say, I am quite happy with the final results (even if it did take me months to finally get around to!).

